Force Rollup Column Calculation in Power Automate
Rollup columns have been around since the dawn of time CRM. They are a great way to aggregate data across a hierarchy of data such as totals, averages, maximum and minimum, but they come with some limitations too. The shortest delay between each rollup calculation in the system is one hour, which is defined on a per column basis. In many cases this is sufficient, but sometimes you may want to force this recalculation after a change has been made which affect the roll up total.
Recalculating the column for all the rows in the table can have performance implications for large data sets and is often unnecessary. Instead we can recalculate a specific rollup column for a specific row automatically in Power Automate. How you trigger this depends on the scenario but all scenarios will be triggered by a record change in Dataverse of course.
When an Opportunity is won - recalculate Account ‘Actual Revenue’
When a Contact is Associated to an Account - recalculate Account ‘Number of Contacts’
When an appointment is marked complete, regarding an Opportunity - update Opportunity ‘Last Appointment Date’
Compose the request URL
We need to build the GET request URL which looks like this, replacing everything *Inside these*:
https://*environment_url*/api/data/v9.1/CalculateRollupField(Target=@tid,FieldName=@field)?@tid={'@odata.id':'*entity_set_name*(*row_uniqueidentifier *)'}&@field='*logical_column_name*'Environment URL
Odata from ‘Get a row’ or ‘Add a new row’
uriHost(outputs('Action_Name')?['body/@odata.id'])Odata from ‘List rows’
urihost(body('List_Rows_Action_Name')?['@odata.context'])OData from ‘When a row is added, modified or deleted’
Not available, use a get row action after the trigger instead, ensuring you use ‘Select columns’ and enter the Uniqueidentifier column name (e.g. contactid or aeh_tableid), the @odata.id will always be returned in a get/list rows action even when not selected.
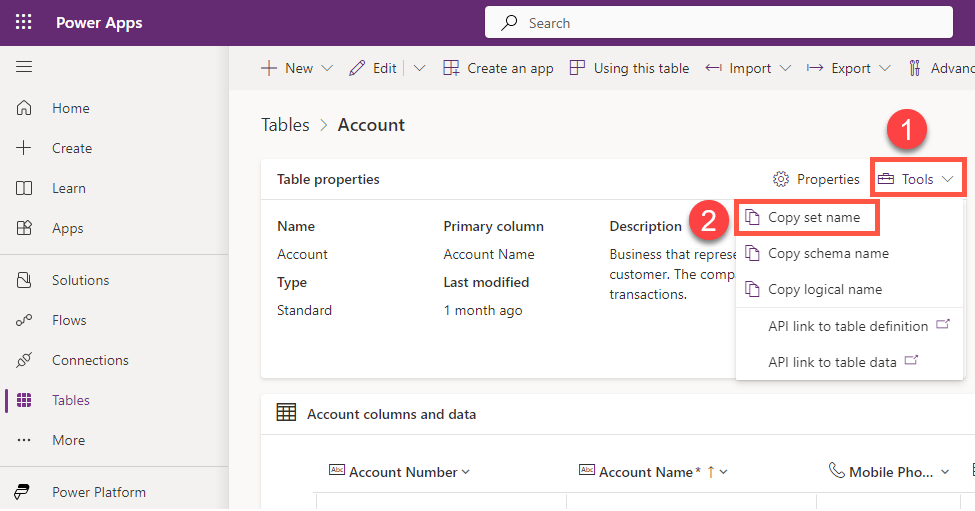
Entity Set Name
The plural name of the table, usually an ‘s’ or ‘ies’ on the end of the logical name e.g. ‘contacts’ or ‘accounts’
Row Uniqueidentifier
This will be an input based on wherever your flow is triggered from e.g. d1a757d9-f993-4617-b968-ec5d7e3fe98c
Logical Column Name
The name of the column that includes a prefix and all lowercase
GET request ‘CalculateRollupField’
To trigger the rollup calulation we need to use a HTTP Request. Make sure you choose the ‘Invoke an HTTP request’ for ‘HTTP with Microsoft Entra ID (preauthorized)’. To create the connection you just need to enter your dynamics 365 url in both the Base resource URL and the Resource URI e.g. ‘https://ameyholden.crm.dynamics.com/’
Set the Method as GET and use the outputs from your compose step above as the ‘Url of the request’.
The end - happy rollup-ing!


